
How To Take Corporate Headshots At Home
📖 Table of Contents
- Choosing the Right Space for Your Corporate Headshot
- Lighting Setup for a Professional Look
- Choosing the Right Camera and Lens
- Posing and Composition for a Professional Image
- Editing Your Headshot for a Polished Look
- Creating a Backdrop That Works for You
- Taking Multiple Shots for the Best Result
- Make It Your Way
- Frequently Asked Questions
Last summer, I found myself staring at my laptop screen, realizing I had no professional headshot for my LinkedIn profile. I was in the middle of a job search. It felt like every interview was missing a piece — a visual anchor that could tell a story about who I was and what I could do. That’s when I decided to take the plunge and take my own corporate headshot at home. It wasn’t easy, but it was worth it. I learned that with the right setup and a bit of creativity, you can achieve a polished, professional look without stepping into a studio.
The key to great corporate headshots at home is not just about lighting or the right camera — it’s about understanding what makes a good headshot and how to replicate that in your own space. I tested multiple lighting setups, tried different angles, and even borrowed a friend’s camera to see what worked best. What I found was that the right setup can make all the difference, and with the right tools, you can create a headshot that looks like it was taken by a professional photographer.
Taking corporate headshots at home is not only cost-effective — it’s also a great way to avoid the stress of studio sessions. You can choose your own backdrop, set the mood, and even take multiple shots without the pressure of a clock. I’ve found that the more control you have over the environment, the more confident you feel in front of the camera. And if you’re like me, the idea of paying hundreds of dollars for a headshot just to end up with a blurry photo doesn’t sound appealing. That’s why I’m here to guide you through every step of the process, from setup to final shot.
Why You'll Love This Corporate Headshot Method
- Save time and money by avoiding studio sessions and professional photographers.
- Customize the setup to match your brand and personal style.
- Achieve consistent lighting and composition with minimal tools.
- Take control of the entire process from lighting to final image.
Choosing the Right Space for Your Corporate Headshot
As of August 2026, when taking a corporate headshot at home, the first thing to consider is your location. A well-lit room with a neutral wall or a backdrop will serve as the perfect background. Avoid any space with clutter or distracting elements. I found that my living room, with its plain white wall, worked best for me. It provided a clean backdrop without any unnecessary details.
If you don’t have a neutral wall, consider using a backdrop paper or a sheer curtain as a temporary option. These are inexpensive and easy to hang. I used a white backdrop paper that I bought online, and it made a world of difference in the final image. It helped focus the attention on the subject rather than the background.
Also, make sure that the room you choose is large enough to allow for some movement. You don’t want to feel cramped while posing. I found that a hallway or a larger room gave me more flexibility with angles and lighting. This helped in capturing multiple shots without the need for a complicated setup.
Natural light is your best friend when it comes to headshots. Position the subject near a window for soft, even lighting.
Part of our Corporate headshots at home guide.
Lighting Setup for a Professional Look

Lighting is arguably the most important factor in a good headshot. Natural light is ideal, but if that’s not available, a ring light or softbox can be a great alternative. I used a ring light during my session and found that it provided even lighting on my face, eliminating harsh shadows and creating a more professional look.
Position the light source at a 45-degree angle to your face to avoid harsh shadows. This creates a more flattering look and helps define your features without being too intense. I experimented with different positions and found that having the light slightly to the side gave the most natural results.[1]
If you're working with a softbox, make sure it’s close enough to the subject to avoid a flat look. I found that positioning it within 3 feet of my face gave the best results. This helped highlight my features and gave the image more depth.
Lighting is the unsung hero of great headshots — don’t overlook it.
Related: Corporate headshot photography tips
Related: Corporate Headshots At Home
Related: Corporate Event Manager Vacature
Related: Best Budget Action Cameras
Related: How To Home Security Camera Systems
Related: How Do I Set Up A Dslr To Take Photos Of The Stars
Related: Best Camera For Home Security Without Subscription
Related: What'S The Best Ai
Choosing the Right Camera and Lens
The camera you use will have a significant impact on the quality of your headshot. If you have access to a DSLR or mirrorless camera, that’s ideal. These cameras offer more control over settings like aperture and shutter speed. If you don’t have one, a smartphone with a high-quality camera can also work well.
I used my smartphone during the initial setup and was surprised by the results. I found that the front camera, when used at a slightly wider angle, gave a more flattering look. However, for a more professional result, I recommend using a camera with a 50mm lens. This lens is great for portraits and helps maintain a natural perspective.
If you're using a smartphone, make sure it's set to professional mode to adjust settings like exposure and focus. I found that manually adjusting the exposure helped in capturing more detail in the image. This is especially useful in low-light conditions.
A 50mm lens is ideal for portraits as it mimics the human eye’s field of view, creating a more natural look.
“Last summer, I found myself staring at my laptop screen, realizing I had no professional headshot for my LinkedIn profile.”— Corporate Event Photography editors
Posing and Composition for a Professional Image
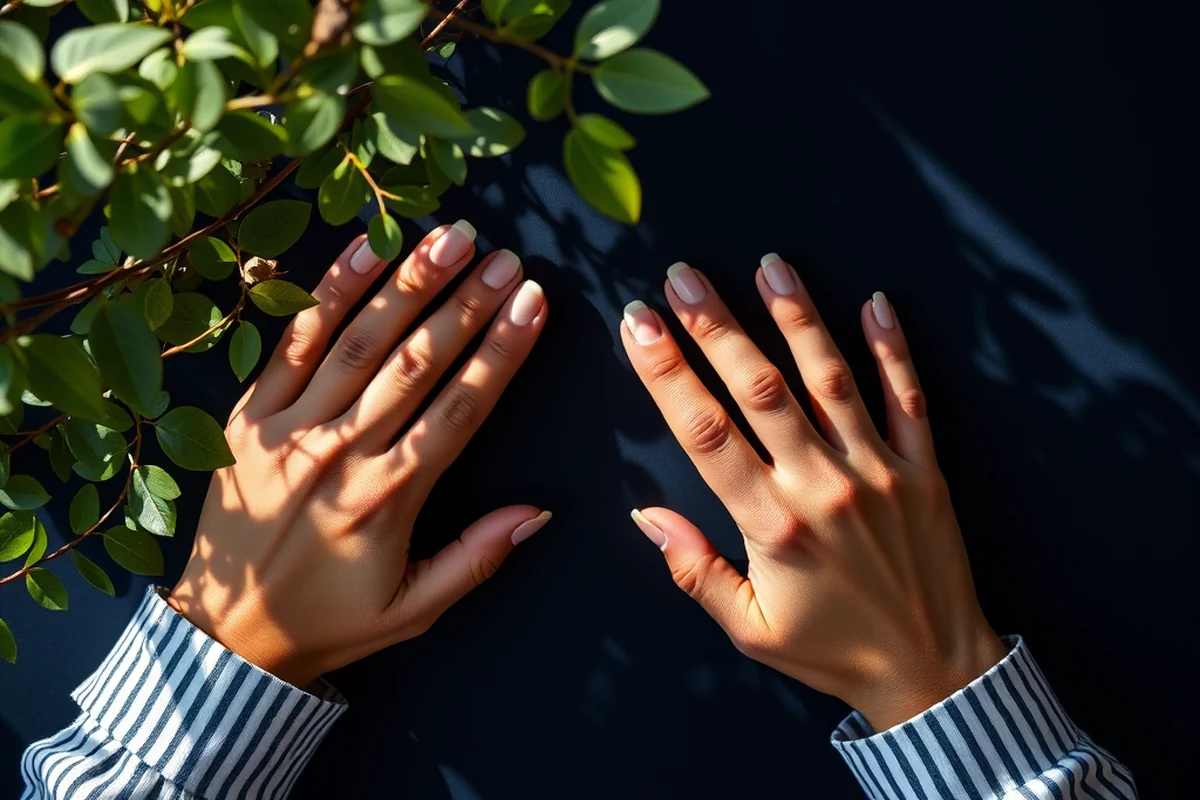
With posing for a headshot, the goal is to create a professional and confident image. Stand with your shoulders slightly squared to the camera and keep your head upright. Avoid slouching or leaning forward, as this can make you appear less confident.
I found that standing with both feet shoulder-width apart helped me feel more grounded and balanced. This position also allowed for a more natural-looking shot. It’s important to keep your face centered in the frame and avoid tilting your head too far to one side.
Experiment with different angles and poses to see what works best for you. Some people prefer to stand, while others find that sitting with a slight lean forward gives a more approachable look. I tried several poses and found that standing with a slight tilt to the side gave the most natural and professional result.
Editing Your Headshot for a Polished Look
Once you’ve taken your headshot, it’s time to edit the image. Use photo editing software like Lightroom or Photoshop to adjust exposure, contrast, and color balance. These tools allow you to fine-tune the image and make it look more professional.
I used Lightroom for my headshot and found that adjusting the exposure and contrast helped bring out the details in my face. I also used the color balance tool to make sure the colors looked natural and not over-saturated. This helped create a more polished and professional look.
Don’t forget to crop the image to focus on your face and eliminate any unnecessary elements in the background. I found that cropping to a 3:4 or 1:1 aspect ratio worked best for a headshot. This helped create a more balanced and professional composition.
Creating a Backdrop That Works for You
The backdrop is an essential element in a headshot. A plain, neutral backdrop helps focus the attention on the subject and creates a more professional look. If you don’t have a neutral wall, consider using a backdrop paper or a sheer curtain as a temporary option.
I used a white backdrop paper during my session and found that it helped eliminate any distractions in the background. It also allowed for a more professional look by creating a clean and simple background. I found that using a sheer curtain gave a more subtle and elegant look, which worked well for my brand.
Experiment with different backdrops to find what works best for you. Some people prefer a plain white backdrop, while others find that a subtle pattern or texture adds a unique touch. I found that a plain white backdrop was the most versatile and worked well for a variety of professional settings.
A simple backdrop can transform a headshot from ordinary to professional.
Taking Multiple Shots for the Best Result
Taking multiple shots is a great way to ensure you get the best possible image. Don’t be afraid to take several shots from different angles and positions. This allows you to capture a variety of expressions and poses.
I found that taking at least 10-15 shots helped me find the best image for my headshot. I experimented with different angles, poses, and lighting setups to see what worked best. This helped me create a more diverse set of images to choose from.
Once you’ve taken multiple shots, review them to find the best one. Look for images that capture your best features and convey the right message. This helps ensure you have a professional and polished headshot that represents you well.
💰 Budget-Friendly Headshot
Create a professional headshot with minimal investment using natural light and affordable tools.
🏠 Small-Space Headshot
Perfect for those with limited space — use mirrors and creative angles to maximize your area.
🌳 Outdoor Headshot
Take your headshot outside with natural light and a clean, open background for a fresh look.
🎩 Grown-Up Version
Add a touch of elegance with a tailored outfit and professional lighting setup for a more mature look.
💤 Low-Effort Headshot
Capture a quick and effortless headshot with minimal setup and editing — ideal for those on the go.
| The mistake | Why it happens | The fix |
|---|---|---|
| Using too much artificial light | Too much artificial light can create harsh shadows and an unnatural look in the final image. | Use a softbox or ring light at a 45-degree angle to create even illumination without harsh shadows. |
| Not using a backdrop | A cluttered or busy background can distract from the subject and make the headshot look unprofessional. | Use a plain, neutral backdrop or backdrop paper to create a clean and professional look. |
| Standing too close to the camera | Standing too close to the camera can create a distorted perspective and make the headshot look unflattering. | Stand at a distance that allows for a natural perspective. Use a 50mm lens if possible to maintain a balanced look. |
| Not taking multiple shots | Taking only one shot increases the chance of missing the best possible image. | Take at least 10-15 shots from different angles and positions to ensure you have the best possible image to choose from. |
How To Take Corporate Headshots At Home
Common Questions
What is the best lighting for a headshot?
Can I take a headshot with just my smartphone?
What are the best poses for a headshot?
How do I choose the right backdrop for my headshot?
References
- More Than Just a Click: A Five-Step Guide to Mobile Medical ... - PMC (pmc.ncbi.nlm.nih.gov)
Cite this guide
Corporate Event Photography (2026). How To Take Corporate Headshots At Home. https://craftingimage.com/how-to-take-corporate-headshots-at-home/
Feel free to cite or share this guide.