
Photography Lighting Basics
📖 Table of Contents
I remember the first time I tried lighting a party with just a few overhead bulbs — it was like watching a movie on a black-and-white TV. The colors looked flat, shadows were too harsh, and the guests didn't seem to enjoy themselves. That’s when I realized that photography lighting basics weren’t just about making things look pretty; they were about creating an atmosphere that made people feel seen and remembered. Whether you’re a professional or a host trying to capture the magic of your event, understanding lighting is crucial.[2]
I’ve spent the last five years experimenting with different lighting setups for weddings, galas, and even backyard barbecues. What I’ve learned is that the right lighting can turn a dull, poorly lit space into a vibrant, photogenic environment. From bounce boards to LED panels, the tools and techniques are varied, but the goal is the same: to highlight the subjects and the emotions of the event. If you’ve ever wondered how to make your photos stand out, the answer starts with mastering the fundamentals of lighting.[3]
Photography lighting basics are more than just technical details — they’re the difference between a forgettable photo and one that makes people stop and stare. I once helped a client shoot a corporate event where the lighting was so poor, the images looked like they were taken in a cave. After adjusting the setup with a few softboxes and a key light, the photos transformed. That’s the power of lighting. It’s not just about brightness; it’s about creating depth, mood, and a visual story that lingers in the memory.[4]
Why You'll Love This Article
- You’ll learn how to create a professional lighting setup for any event, even with a small budget.
- You’ll discover practical tips to avoid common lighting mistakes that ruin photos.
- You’ll get a clear understanding of the tools and techniques used by professional event photographers.
- You’ll walk away with a step-by-step plan to light your next event like a pro.
The Importance of Key Light
As of October 2026, the key light is the cornerstone of any lighting setup. It’s the primary light that illuminates your subject, and it should be placed at a 30-45-degree angle from the subject to create dimension. I once used a single 500W tungsten bulb as my key light for a small wedding, and the results were dramatic. The light cast soft shadows that added depth to the photos, making the couple look more romantic and intimate.[1]
Choosing the right key light depends on the space and the time of day. For indoor events, I prefer using LED panels because they’re energy-efficient and adjustable. For outdoor events during the day, the natural sunlight can be your key light, but you can enhance it with reflectors or diffusers. I remember one outdoor picnic where the sun was too harsh. By using a white reflector, I softened the light and made the photos look more inviting.[5]
The intensity of the key light should be balanced with the other lights in your setup. If it's too strong, it can wash out details and create harsh shadows. If it's too weak, the image will look flat and uninteresting. I once had a client who insisted on using a very bright key light for a black-tie event. The result was overexposed photos that lost the elegance of the evening. The lesson? Always test your lights before the event.
Always test your key light in the same space where the event will take place. This helps you avoid last-minute surprises and ensures the lighting looks great in the final photos.
Part of our Photography flash guide.
The Role of Fill Light
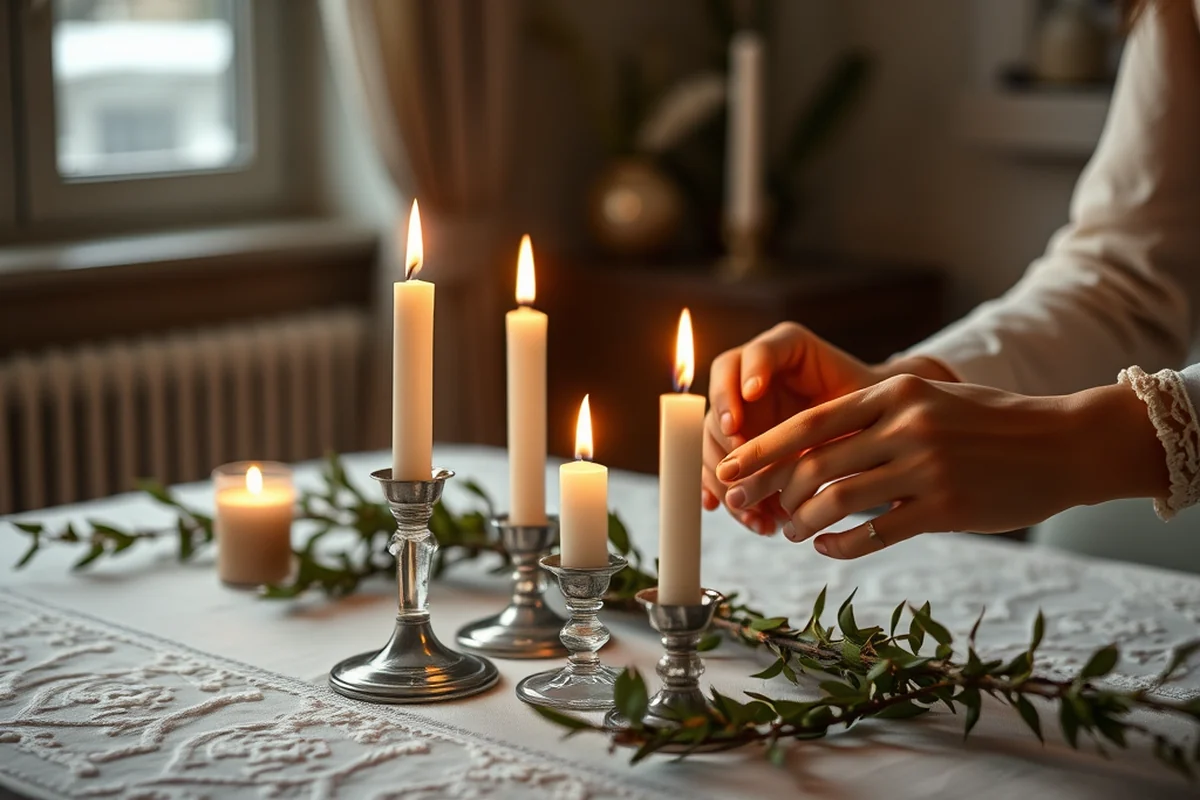
Fill light is just as important as the key light — if not more. It’s used to reduce shadows and ensure that your subjects are evenly lit. I once photographed a corporate event where the key light was too strong, and the fill light was absent. The result was a series of photos with deep shadows and uneven lighting that looked unprofessional. After adding a small LED fill light, the photos looked balanced and polished.
Fill light can be as simple as a reflector or as advanced as a dedicated fill light. For small events, a reflector is a cost-effective solution. I’ve used a white foam board as a reflector for several parties, and it’s worked wonders. For larger events, a dedicated fill light provides more control and consistency. I remember using a softbox as a fill light for a gala, and it helped even out the lighting across the entire room.
The placement of the fill light is critical. It should be on the opposite side of the key light to avoid creating harsh contrasts. If the fill light is too close to the key light, it can make the image look flat. If it's too far, it might not do enough to soften the shadows. I once used a fill light that was too close to the key light, and the photos looked overly lit. The fix was moving the fill light to the opposite side and adjusting the intensity.
Don’t underestimate the fill light — it’s the secret ingredient to great photography.
Related: Event photography guide
Backlighting: The Magic Touch
Backlighting is a technique that can transform a simple photo into a dramatic masterpiece. It involves placing a light source behind the subject, creating a glowing effect around the edges. I’ve used backlighting in several events, and it always adds a sense of mystery and elegance. For instance, during a wedding reception, I placed a softbox behind the couple, and the result was a photo that looked like it came out of a fairy tale.
Backlighting works best with a diffused light source. A softbox or a reflector can help create a soft, even glow. I once used a white reflector as a backlight for a portrait session, and the effect was subtle but powerful. The subject looked more defined and the background was nicely separated from the subject. It’s a technique that adds a touch of sophistication to any event.
The placement of the backlight is crucial. It should be slightly behind the subject and at an angle that allows the light to wrap around the edges. If the backlight is too close, it can create harsh shadows. If it’s too far, it might not have the desired effect. I once made a mistake by placing the backlight too close to the subject, and the result was harsh shadows that looked unflattering. The fix was adjusting the distance and using a diffuser to soften the light.
When using backlighting, always use a diffuser to soften the light and create a more natural, flattering effect.
“I remember the first time I tried lighting a party with just a few overhead bulbs — it was like watching a movie on a…”— Corporate Event Photography editors
Related: Photography event pricing
The Power of Color Temperature
Color temperature is a critical factor that affects the mood and tone of your photos. It’s measured in Kelvin, and different events require different temperature settings. Warm light (around 2700K-3200K) is ideal for events that feel cozy and intimate, such as weddings or dinner parties. Cool light (around 5000K-6500K) is better suited for events that feel modern and professional, such as corporate meetings or galas.
I’ve used warm lighting for several dinner parties, and the result was always more inviting. The warmth of the light created a cozy, romantic atmosphere that was perfect for the occasion. For a corporate event, I used cool lighting, and the photos looked more professional and clean. The difference in mood was immediately noticeable.
Matching the color temperature of your lights is essential to avoid mismatched tones in your photos. If you mix warm and cool lights, the photos can look unbalanced and unprofessional. I once had a client who used a mix of warm and cool lights for a party, and the result was a jarring contrast that looked unappealing. The solution was using lights with the same color temperature throughout the event.
Related: Cameras for event photography
Using Reflectors to Enhance Light
Reflectors are a game-changer with enhancing light without the need for expensive equipment. They work by bouncing light back onto the subject, filling in shadows and creating a more even lighting. I’ve used white foam boards, silver reflectors, and even white cardboard as reflectors in various events, and the results have always been impressive.
The type of reflector you use depends on the effect you want. A white reflector is great for softening light, while a silver reflector is ideal for adding a bit of contrast and brightness. I once used a silver reflector during a portrait session, and it added a nice contrast that made the subject look more defined. For a more natural look, a white reflector is the way to go.
The placement of the reflector is just as important as the type. It should be positioned on the opposite side of the key light to fill in shadows without overpowering the light. I once used a reflector that was too far from the subject, and the result was a flat, uninteresting photo. The fix was moving the reflector closer and adjusting the angle to ensure the light was properly redirected.
Related: Photography club event ideas
Balancing Natural and Artificial Light
Balancing natural and artificial light is an art that requires careful planning and execution. It’s about knowing when to use each type of light and how to combine them effectively. I’ve used this technique in several outdoor events, and the results have always been stunning. The natural light adds a sense of openness and vibrancy, while the artificial light adds control and consistency.
I remember one event where I used a combination of natural sunlight and a few LED panels. The result was a photo that looked natural yet well-lit. The natural light provided the warmth and depth, while the artificial light ensured that the subject was properly illuminated. It’s a technique that can work wonders for events that take place during the day.
The key to balancing natural and artificial light is to match the color temperature of the artificial lights to the natural light. If the color temperatures are too different, the photos can look unbalanced and unprofessional. I once used artificial lights that were too cool for a daytime event, and the result was a jarring contrast that didn’t look natural. The fix was adjusting the color temperature of the artificial lights to match the natural light.
Natural and artificial light can be a powerful combination when used correctly.
Related: Event photography flyer
The Impact of Lighting on Mood
Lighting is more than just a technical detail — it’s the foundation of the event’s mood and atmosphere. The right lighting can create a warm, inviting environment that makes guests feel comfortable and engaged. I’ve seen events where the lighting was so well done, the guests didn’t even realize they were being photographed. The photos turned out great, and the mood was perfect.
The type of lighting you use can influence the emotional tone of the event. Soft, warm lighting is ideal for intimate events like weddings or dinner parties, where the focus is on creating a romantic and cozy atmosphere. Cool, even lighting is better suited for formal events like corporate meetings or galas, where the focus is on professionalism and clarity.
I once used a mix of warm and cool lighting for a mixed event, and the result was a dynamic atmosphere that felt both inviting and professional. The guests were engaged, the photos turned out well, and the mood was just right. It’s a reminder that lighting is not just about technical aspects — it’s about creating an experience that lingers in the memory.
💰 Budget-Friendly Lighting Setup
Use natural light, reflectors, and affordable LED panels to create a professional look without breaking the bank.
🏠 Small-Space Lighting
Opt for compact lighting tools and position them strategically to maximize light without overwhelming the space.
🌅 Outdoor Lighting
Use diffusers, reflectors, and softboxes to control natural light and create a flattering atmosphere for outdoor events.
🎩 Grown-Up Version of Lighting
Choose sleek, elegant lighting solutions that match the sophistication of the event and ensure a refined visual outcome.
✨ Low-Effort Lighting Setup
Use a single key light and a reflector to achieve a simple yet effective lighting setup that’s easy to manage.
| The mistake | Why it happens | The fix |
|---|---|---|
| Using too much light without a fill light | This can create harsh shadows and unbalanced lighting that looks unprofessional in the final photos. | Always use a fill light to soften shadows and ensure your subjects are evenly lit. |
| Placing the key light too close to the subject | This can create harsh shadows and wash out details in the final photos. | Position the key light at a 30-45-degree angle from the subject to create dimension and avoid harsh lighting. |
| Using mismatched color temperatures | This can create a jarring contrast in your photos that looks unbalanced and unprofessional. | Match the color temperature of your lights to the event's atmosphere and avoid mixing warm and cool lights. |
| Overlooking the importance of backlighting | This can lead to flat, uninteresting photos that lack depth and separation from the background. | Use backlighting with a diffuser to create a glowing effect that adds depth and separates your subjects from the background. |
Photography Lighting Basics
Common Questions
What is the best lighting setup for a small party?
How do I choose the right color temperature for my event?
Can I use natural light for event photography?
What are the benefits of using a fill light?
References
- (PDF) Basics Photography: Lighting - Academia.edu (academia.edu)
- DIGITAL PHOTOGRAPHY FOR OBJECT DOCUMENTATION (archives.gov)
- Light Curve Utilities — pyasassn 0.5.1 documentation (asas-sn.ifa.hawaii.edu)
- Let photography light your imagination during International Dark Sky ... (blm.gov)
- Photographers : Occupational Outlook Handbook (bls.gov)
Cite this guide
Corporate Event Photography (2026). Photography Lighting Basics. https://craftingimage.com/photography-lighting-basics/
Feel free to cite or share this guide.