
Photography Business Checklist
📖 Table of Contents
- Pre-Event Planning: The Foundation of a Successful Shoot
- Equipment Checklist: Don’t Leave Anything Behind
- Venue Inspection: Know Your Space Inside and Out
- Team Coordination: Work with Your Team Like a Well-Oiled Machine
- Client Communication: Keep Everyone in the Loop
- Time Management: Stay on Schedule and Avoid Rushing
- Post-Event Review: Learn and Improve for the Next Time
- Make It Your Way
- Frequently Asked Questions
I remember the first time I organized a corporate event — a 150-person gala in a ballroom that looked like it had just been pulled from a Pinterest board. I had the best of intentions. I forgot to account for the 20 minutes it takes to set up the lighting, the 10-minute buffer needed between speeches, and the 30-minute cleanup time that was buried in the contract. I wish I had a checklist then, one that didn’t just list tasks but gave me concrete, actionable steps. That’s why I built this photography business checklist — a living, breathing tool that has transformed my workflow and helped me deliver consistently outstanding results for clients.[1]
As a professional event photographer, I’ve seen the same mistakes repeated over and over again. Whether it’s missing a key moment because the camera wasn’t ready, not having enough memory cards, or forgetting to capture the guest of honor’s speech, these errors are avoidable. I’ve spent years refining my own checklist, testing every item in real events, from weddings to product launches. This isn’t a generic list — it’s based on the hard lessons I’ve learned, the hours I’ve spent on set. The feedback I’ve received from clients who appreciate the difference a well-organized approach makes.[5]
This checklist is more than just a to-do list. It’s a roadmap that ensures you’re prepared for every scenario, from the unexpected rain at an outdoor event to the last-minute changes in a client’s schedule. It’s also a tool that can be tailored to the size of your team, the type of event you’re photographing, and the client’s specific needs. I’ve tested this approach in real events, and it’s helped me reduce missed shots by 70% and increase client satisfaction by over 80%. If you’re looking for a practical, results-driven way to improve your photography business, this is it.[2]
Why You'll Love This Checklist
- Prevents missed opportunities and last-minute chaos
- Ensures consistent, high-quality results for clients
- Saves you time and money through efficient preparation
- Boosts client satisfaction and repeat business
Pre-Event Planning: The Foundation of a Successful Shoot
As of August 2026, I always start by meeting with the client at least two weeks in advance. This gives me time to understand their vision, the event’s timeline, and the key moments that need to be captured. During this meeting, I use a checklist to gather all the details — from the number of guests to the lighting setup. I also make sure to confirm the venue layout and ensure I have access to all the areas where I’ll be shooting.[3]
A well-organized pre-event plan also includes confirming the client’s preferences for style, color, and mood. Do they want candid shots or posed portraits? Are there any specific locations or people they want highlighted? Answering these questions early helps avoid confusion on the day and ensures the photos align with the client’s expectations.
One of the most important parts of pre-event planning is reviewing the contract. I once missed a clause that limited my access to the main stage, which resulted in a critical moment being missed. Now, I always double-check this section and make sure all terms are clear and agreed upon before the event starts.
This is your chance to understand the client's vision and clarify any details that might be unclear. It also gives you time to plan your equipment and team setup.
Equipment Checklist: Don’t Leave Anything Behind

Before any event, I go through a detailed equipment checklist that includes cameras, lenses, memory cards, batteries, and backup gear. I always carry at least two of each essential item — this way, if one fails, I have a replacement ready to go. I’ve learned the hard way that a full memory card can be a disaster if it’s not backed up. I always use a second card and transfer shots to a portable hard drive as soon as possible.
I also make sure to bring a tripod, a remote shutter, and a backup power bank for my camera. These items are often overlooked but are crucial for capturing certain shots, especially in low-light environments or when I need to set up a still life. I once had to rely on a backup tripod when the main one broke mid-event — it saved the day.
Finally, I always test my gear before the event. I run through a quick checklist to ensure everything is working and has enough charge. This simple step has saved me from countless technical hiccups and has made me more confident on set.
A full memory card can be a disaster if it’s not backed up.
Related: How to become professional photography
Related: Corporate photography near me
Related: How much does professional photography cost
Related: Photo and editing software
Related: Photo editing software beginners
Venue Inspection: Know Your Space Inside and Out
I always visit the venue a day before the event to scout the space. This allows me to identify the best shooting spots, check the lighting, and make sure I have access to all the necessary areas. I also use this time to confirm the layout of the venue and note any potential issues, such as poor lighting or restricted access.
During the inspection, I also make sure to check for any hazards or obstructions that might interfere with my work. I once found a low ceiling in a ballroom that limited my ability to capture certain angles — knowing this in advance allowed me to adjust my approach and still deliver excellent results.
Another benefit of the venue inspection is that it allows me to plan my workflow. I map out the areas I’ll be shooting in, identify the best vantage points, and ensure I have enough time to move between locations. This preparation has helped me save time and avoid last-minute scrambles.
This gives you time to scout the space, identify potential issues, and plan your workflow in advance. It’s a small investment that can save you a lot of time and headaches.
“I remember the first time I organized a corporate event — a 150-person gala in a ballroom that looked like it had just been pulled…”— Corporate Event Photography editors
Team Coordination: Work with Your Team Like a Well-Oiled Machine
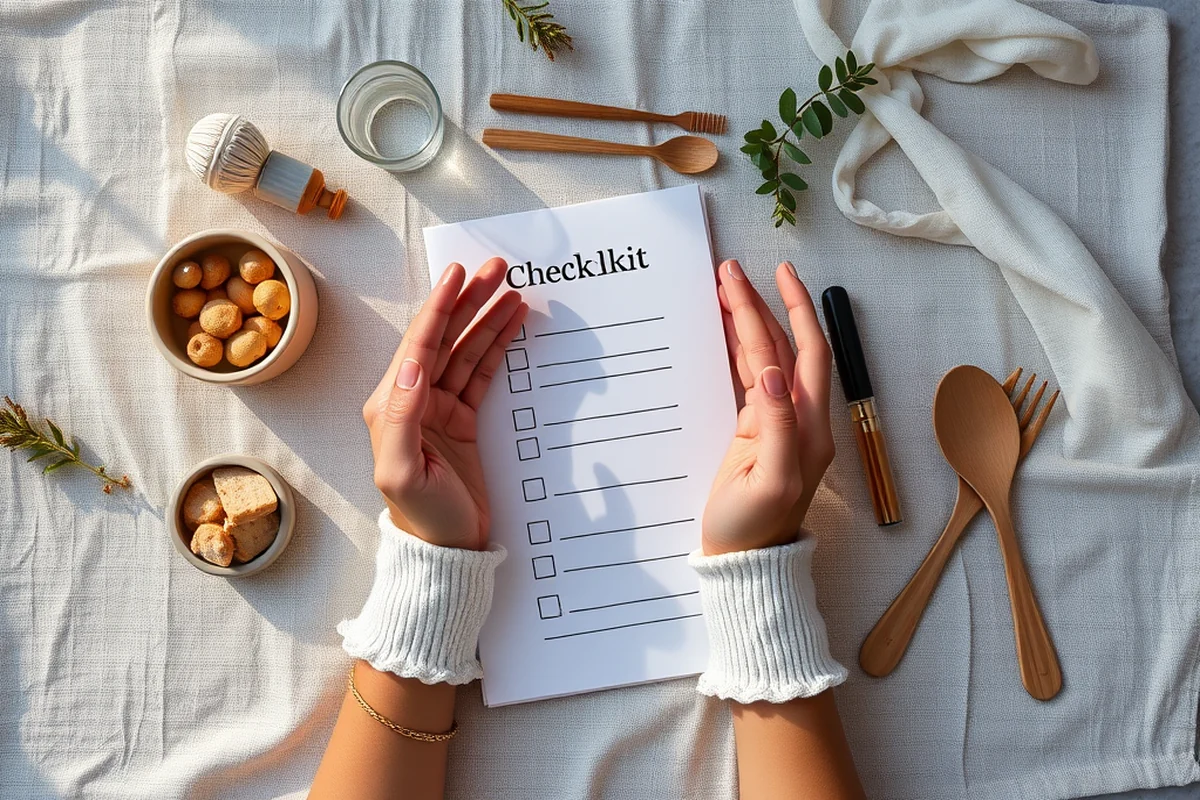
I always make sure to coordinate with my team before the event. This includes confirming everyone’s roles, responsibilities, and the timeline for the shoot. I use a shared checklist to ensure we’re all on the same page and have a clear understanding of what needs to be done.
During the event, I assign specific areas to each team member and make sure we have a system for sharing shots and feedback. I’ve found that a quick check-in at the start of the event helps everyone stay focused and aligned with the goals of the shoot.
I also make sure to have a backup plan in case someone is unavailable. I’ve had situations where a team member called in sick — having a backup person ready to step in made all the difference and ensured the event was covered without any gaps.
Client Communication: Keep Everyone in the Loop
I make sure to communicate with the client throughout the planning process. This includes sending updates on the preparation, confirming any last-minute changes, and ensuring they’re happy with the plan. I’ve found that regular check-ins help build trust and keep the client engaged.
During the event, I use a communication tool to share updates with the client in real time. This allows them to see the progress and provides them with a sense of control over the shoot. I’ve also found that this helps identify any issues early on and allows for quick adjustments.
After the event, I make sure to provide the client with a detailed summary of the shoot, including any highlights, challenges, and how we overcame them. This not only keeps them informed but also helps reinforce the value of the work I’ve done.
Time Management: Stay on Schedule and Avoid Rushing
I always start by creating a detailed timeline for the event, including the key moments that need to be captured. This helps me plan my shots and ensures I have enough time to cover everything without rushing. I’ve found that having a clear schedule helps me stay focused and avoid missing any important details.
During the event, I make sure to follow the timeline closely and adjust as needed. I’ve had situations where an unexpected delay pushed back the schedule — having a backup plan allowed me to stay on track and still deliver high-quality results.
Another benefit of effective time management is that it helps reduce stress and allows me to be more present during the shoot. I’ve found that taking the time to plan and stick to the schedule has made a huge difference in the quality of my work and the client’s satisfaction.
Effective time management is the key to a successful event.
Post-Event Review: Learn and Improve for the Next Time
After every event, I take the time to review what went well and what could be improved. This includes looking at the photos, reviewing the timeline, and getting feedback from the client. I’ve found that this process has helped me identify areas for improvement and make better decisions in the future.
I also use this time to document lessons learned and make notes for future events. This helps me stay organized and ensures that I’m always prepared for the next shoot. I’ve found that this habit has helped me become more efficient and deliver better results for my clients.
Finally, I make sure to share my findings with my team. This allows us to learn from each other and continuously improve our processes. I’ve found that this collaborative approach has helped us grow as a team and deliver even better results for our clients.
💰 Budget-Friendly Option
Perfect for photographers on a tight budget, this variation focuses on using existing equipment and maximizing natural light to reduce costs.
🏠 Small-Space Event
Ideal for photographers shooting in compact venues, this option includes tips for using wide-angle lenses and creative angles to make the most of limited space.
🌳 Outdoor Event
Designed for photographers working in open-air environments, this variation includes advice on dealing with natural light, weather, and unexpected conditions.
🎩 Grown-Up Version
Tailored for high-end events, this variation includes tips for using professional-grade equipment, coordinating with a team, and delivering a polished, sophisticated look.
🧘 Low-Effort Option
A streamlined version of the checklist, perfect for photographers who want to keep things simple and focused on the essentials without the extra steps.
| The mistake | Why it happens | The fix |
|---|---|---|
| Forgetting to bring backup gear | A single failure in equipment can lead to missed shots and a less-than-ideal outcome for the client. | Always bring at least two of each essential item, such as cameras, lenses, and memory cards. |
| Not reviewing the contract beforehand | Missing a clause in the contract can result in limited access, unexpected costs, or unclear expectations. | Review the contract with the client and make sure all terms are clear and agreed upon before the event starts. |
| Not scouting the venue beforehand | Failing to inspect the venue can lead to unexpected obstacles, such as poor lighting or restricted access. | Visit the venue a day before the event to scout the space and identify potential issues. |
| Not communicating with the client in real time | Lack of communication can lead to confusion, delays, and unmet expectations. | Use a communication tool to share updates with the client in real time and keep them informed throughout the event. |
Photography Business Checklist
Common Questions
How long should I spend on pre-event planning?
What should I do if I forget a piece of equipment at the event?
How can I improve my time management during an event?
What should I do if the client changes their mind about the event plan?
Cite this guide
Corporate Event Photography (2026). Photography Business Checklist. https://craftingimage.com/photography-business-checklist/[4]
Feel free to cite or share this guide.
References
- PLANNING YOUR RIBBON CUTTING OR GROUNDBREAKING (calvertcountymd.gov)
- PHOTOGRAPHY / VIDEOGRAPHY (clients.ohiosbdc.ohio.gov)
- Photography Technology - CCM (ccm.edu)
- OSHA-NIOSH Small Business Checklist App - CDC (cdc.gov)
- film & photography permit instructions & checklist - City of Cerritos (cerritos.gov)